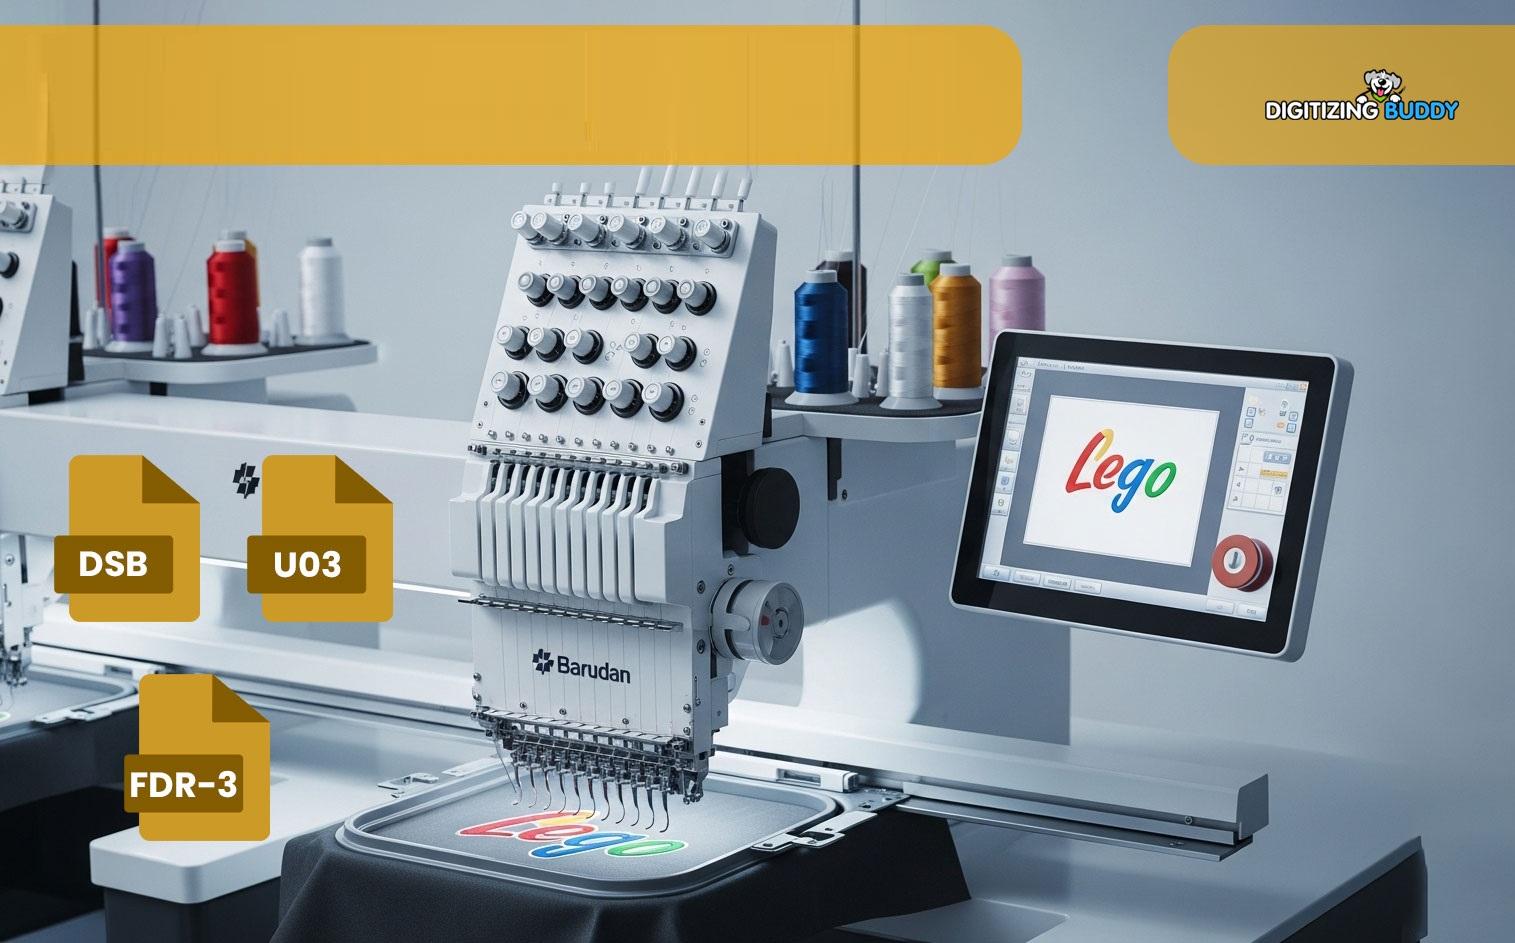
Beginner-Friendly Tips for Preparing Logos for Barudan Embroidery
Logo embroidery looks clean, smart, and long-lasting. Many brands use it on shirts, caps, jackets, and bags. But before stitching starts, the logo must be ready for the embroidery machine. This step is very important. A poor logo setup can lead to bad stitches, loose threads, and uneven shapes.
If you are new to embroidery, the process may feel hard at first. But with the right steps, it becomes much easier. You do not need to be an expert to get good results. You only need to understand a few simple things about logo files, stitch paths, colors, and fabric types.
Many people who want to Transform a Logo into Barudan Embroidery File often skip the prep stage. That can cause many stitch issues later. Good file setup helps the machine run smoothly and gives a clean final look. A well-prepared logo also saves time, thread, and money during production.
This guide shares beginner-friendly tips that can help you prepare logos for Barudan embroidery machines. The tips are easy to follow and based on real embroidery work experience.
Why Logo Preparation Matters
A logo may look perfect on a screen, but that does not mean it will stitch well on fabric. Embroidery machines work with stitches, not regular images. Every shape, line, and color must be turned into stitch data.
Good logo prep helps with:
-
Clean stitching
-
Better shape accuracy
-
Less thread breakage
-
Faster machine speed
-
Better fabric support
-
Smooth production
Poor prep often leads to gaps, puckering, uneven text, and thread nests. That is why skilled digitizers spend time checking artwork before stitching starts.
Understand How Barudan Machines Work
Barudan embroidery machines are known for speed and quality. They are used by many embroidery shops around the world. These machines can handle detailed designs, but they still need proper file setup.
Important Things to Know
Stitch Direction Matters
Barudan machines follow stitch paths carefully. If stitch angles are wrong, the fabric may pull or shift.
Small Details Can Be Hard to Stitch
Very tiny text or thin lines may not show well on fabric. Some parts may need to be enlarged or simplified.
Clean Files Help Machine Speed
Messy stitch files can slow down the machine and increase thread breaks.
Start With High-Quality Artwork
The first step is choosing the best logo image possible. A blurry image makes digitizing harder.
Best File Types for Embroidery Prep
Use:
-
AI
-
EPS
-
SVG
-
PDF
-
High-resolution PNG
Avoid:
-
Small screenshots
-
Blurry JPEG files
-
Low-quality web images
Vector artwork is best because it keeps shapes sharp when resized.
Keep the Design Simple
Simple logos stitch better than crowded designs. Too many tiny shapes can create problems during embroidery.
Try to:
-
Remove very small details
-
Use bold shapes
-
Make text easy to read
-
Limit extra effects
Choose the Right Logo Size
Logo size affects stitch quality. A logo that is too small may lose detail. A logo that is too large may use too many stitches.
Common Logo Sizes
|
Item |
Average Size |
|
Left chest |
3.5 to 4 inches |
|
Cap front |
2 to 2.5 inches |
|
Jacket back |
10 to 12 inches |
Always test the size before final production.
Avoid Tiny Text
Tiny lettering is one of the biggest beginner mistakes.
Good Rule for Text
-
Keep text above 4 mm height
-
Use simple fonts
-
Avoid thin script fonts
Bold lettering stitches more clearly.
Pick the Right Stitch Types
Different logo parts need different stitch styles. Good stitch choice improves the final look.
Satin Stitches
These are best for:
-
Text
-
Borders
-
Narrow shapes
They give a shiny and smooth finish.
Fill Stitches
These work well for large areas.
Use them for:
-
Big shapes
-
Background areas
-
Wide logo sections
Running Stitches
These are used for:
-
Fine details
-
Light outlines
-
Small accents
Pay Attention to Fabric Type
Fabric changes how embroidery looks. A logo that works on a polo shirt may not work the same on a cap.
Soft Fabrics
Soft fabrics can shift during stitching.
Examples:
-
T-shirts
-
Fleece
-
Sweatshirts
These fabrics often need extra support.
Thick Fabrics
Heavy materials need stronger stitch settings.
Examples:
-
Jackets
-
Denim
-
Canvas
Stretch Fabrics
Stretch fabrics can pull and warp.
Use proper backing to keep the logo stable.
Use the Right Stabilizer
A stabilizer supports the fabric during embroidery. It helps stop puckering and movement.
Common Stabilizer Types
Cut-Away Stabilizer
Best for stretchy fabrics.
It stays behind the design after stitching.
Tear-Away Stabilizer
Works for stable fabrics.
It tears away after embroidery is done.
Wash-Away Stabilizer
Good for towels or textured fabrics.
It disappears with water.
Using the wrong stabilizer can ruin a design, even if the digitizing is good.
Select Thread Colors Carefully
Thread colors may look different on fabric than on a screen.
Helpful Color Tips
-
Use strong contrast
-
Avoid very similar shades
-
Test colors on fabric
-
Keep branding colors close to the original logo
Barudan machines support many thread colors, but clean color planning still matters.
Limit Too Many Color Changes
Too many thread changes slow production.
Simple color plans help the machine run faster.
Check Stitch Density
Stitch density means how close stitches are together.
Too Much Density Causes Problems
Heavy stitch density may cause:
-
Fabric puckering
-
Thread breaks
-
Needle heat
-
Stiff designs
Too Little Density Looks Weak
Loose stitches can create gaps and poor coverage.
Balanced density gives the best result.
Test the Design Before Production
Never skip a test stitch. Even skilled digitizers test designs before final runs.
Benefits of Test Stitching
You can check:
-
Stitch quality
-
Color accuracy
-
Fabric pull
-
Thread tension
-
Design size
A small test can save large production costs later.
Use the Same Fabric
Always test on the same material used for the final product.
Different fabrics react differently during stitching.
Keep the Stitch Path Clean
The stitch path controls how the machine moves through the design.
Why Clean Paths Matter
Poor stitch order can create:
-
Extra trims
-
Jump stitches
-
Loose threads
-
Slow machine speed
Good stitch flow keeps embroidery neat and smooth.
Reduce Unneeded Trims
Too many trims waste time and make the design messy.
Smart digitizing reduces extra movement.
Understand Pull Compensation
Fabric pulls during embroidery. This can change logo shapes slightly.
What Pull Compensation Does
It adjusts stitch width to help shapes stay even after stitching.
Without it:
-
Circles may look oval
-
Text may shrink
-
Borders may gap
Experienced digitizers always adjust for fabric pull.
Avoid Common Beginner Mistakes
Many embroidery problems happen because of simple mistakes.
Using Low-Quality Artwork
Bad artwork creates poor stitch results.
Always start with clear designs.
Ignoring Fabric Type
Each fabric behaves differently.
Do not use the same settings for all materials.
Making Designs Too Small
Tiny logos lose detail quickly.
Keep important parts large enough to stitch cleanly.
Skipping Test Runs
Test stitching helps catch errors early.
Never trust a design without testing it first.
Learn Basic Digitizing Skills
You do not need to become a master digitizer overnight. But learning basic embroidery terms helps a lot.
Important Things to Learn
Underlay Stitches
These support the top stitches and improve stability.
Push and Pull Effects
Fabric movement changes shape during stitching.
Stitch Angles
Correct angles improve texture and coverage.
Compensation Settings
These help maintain design shape after stitching.
The more you learn, the easier logo prep becomes.
Organize Files Properly
Good file organization saves time during production.
Helpful File Tips
-
Use clear file names
-
Save backup copies
-
Store original artwork
-
Keep machine files sorted
Many embroidery shops keep folders for:
-
Client logos
-
Final stitch files
-
Color charts
-
Test runs
This makes repeat orders easier later.
Communicate With Clients Clearly
If you prepare logos for customers, good communication matters.
Ask Important Questions
Before digitizing, ask:
-
What fabric will be used?
-
What size is needed?
-
Where will the logo be placed?
-
How many colors are required?
These details help avoid mistakes.
Explain Design Limits
Some logo effects may not work well in embroidery.
For example:
-
Tiny gradients
-
Very thin lines
-
Small shadows
Helping clients understand this builds trust and avoids confusion.
Maintain Your Barudan Machine
Good file prep is important, but machine care matters too.
Simple Maintenance Tips
-
Clean lint daily
-
Change dull needles
-
Check thread tension
-
Oil the machine when needed
Even perfect digitizing can fail on a poorly maintained machine.
Practice With Simple Designs First
Beginners should start small.
Good Starter Logos
Choose logos with:
-
Bold shapes
-
Simple text
-
Few colors
-
Clear spacing
As your skills improve, you can handle more detailed embroidery work.
Keep Learning
Embroidery improves with practice.
Watch stitch-outs carefully and learn from mistakes. Every project teaches something new.
Build Confidence Step by Step
Many beginners feel nervous when preparing logos for embroidery. That is normal. The key is taking one step at a time.
Start by learning:
-
Artwork cleanup
-
Basic stitch types
-
Fabric support
-
Simple digitizing settings
-
Test stitching methods
With time, these steps become easier.
Final Thoughts
Preparing logos for Barudan embroidery is a skill that grows with practice. Beginners do not need to know everything at once. Simple steps like using clean artwork, choosing the right stitch type, testing designs, and matching settings to fabric can make a huge difference.
Good preparation leads to smoother stitching, cleaner results, and fewer machine problems. It also helps build trust with customers and improves overall embroidery quality.
The best embroidery work always starts before the machine begins stitching. Careful logo preparation saves time, reduces errors, and creates a more professional final product. By learning these beginner-friendly tips and practicing often, you can build strong embroidery skills and create logo designs that look clean, sharp, and ready for production.